01845 526 764
holidays@thirsktravel.co.uk


Red Sea & the Nile, Cruise and Stay
Duration:
14
Start/Finish:
Manchester Flights Included
from £1999.00 per person
November 2024
Combine the excitement of a cruise through the heart of Egypt, with the relaxation of the Red Sea. Our 14 night Cruise and Stay package includes a 7 night Nile Cruise from Luxor on a Full Board basis, plus 7 nights All Inclusive at at the Makadi Spa Hotel in Makadi Bay. Your cruise includes an expertly-guided itinerary with 10 free excursions.
Day 1-3: Arrival at the Red Sea
A typical itinerary sees you fly direct to Hurghada or Makadi Bay on Friday for the first 3 nights at your chosen hotel (or Marsa Alam on Wednesday for the first 5 nights). The cruise starts on Monday, so you can relax and enjoy the Red Sea until the itinerary commences.
Day 4: Arriving in Luxor
Luxor, is the site of the ancient Egyptian capital, Thebes, and home to many of the most renowned monuments, tombs and temples. It is the starting point for your Nile cruise. On arrival at Luxor you will check in to your chosen cruise ship.
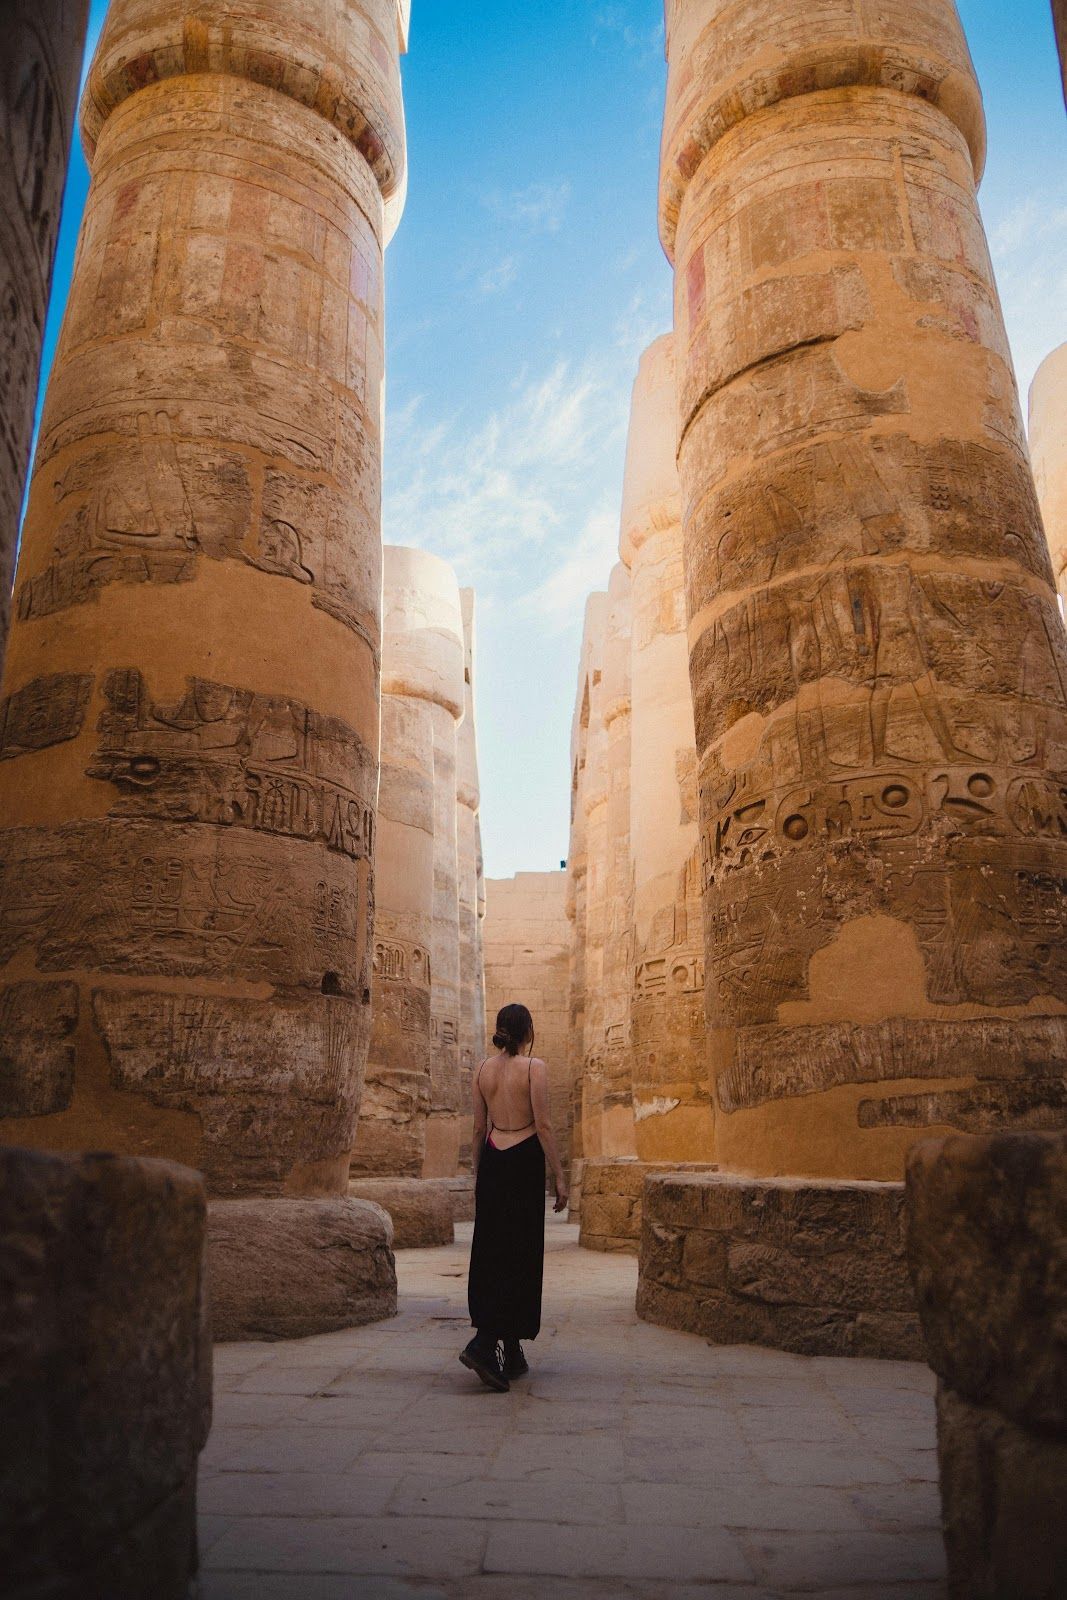
Day 5: Luxor and East Thebes
After breakfast visit the East bank of Thebes and the Temples of Luxor and Karnak. At the vast open air museum of Karnak, marvel at the Great Hypostyle Hall with its 134 columns. Enjoy lunch and dinner on board, and overnight in Luxor.
Day 6: Luxor and Western Thebes
Travel to the West Bank, Thebes and the Valley of the Kings, final resting place of the Pharaohs; there is an optional visit to Tutankhamun’s tomb*. Other highlights include the imposing Temple of Hatshepsut, the gigantic Colossi of Memnon, and Medinet Habu temple. In the afternoon, sail to Esna. Dinner is on board and you overnight at Esna.
Day 7: Kom Ombo to Aswan
The cruise continues via the impressive sight of Kom Ombo standing sentinel at a bend in the river. Visit this unusual double temple, built in 250BC to honour the crocodile-headed Sobek and the falcon-headed Horus, before sailing on to Aswan.
Day 8: Agilika & the Temples of Philae
Visit the unfinished obelisk first thing, then take a motor boat from Aswan to the island of Agilika and the Temples of Philae, devoted to Isis, and visit the famous Aswan High Dam Enjoy an optional day trip to Aswan Nubian Village national park*
Day 9: Aswan
A free day to explore Aswan and its lively Souk, enjoy the optional early morning excursion to Abu Simbel*, or to simply relax on board. In the afternoon, enjoy a boat ride along the Nile, before embarking and sailing to Kom Ombo. Overnight at Kom Ombo.
Day 10: Sail to Luxor
Enjoy a day soaking up the view, as you sail downstream, arriving in Luxor in the evening. Enjoy your last evening in style with the Sound & Light show at Karnak Temple*.
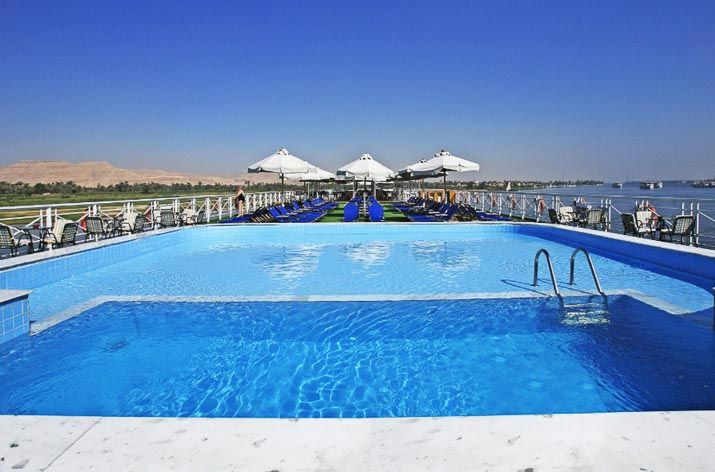
Day 11-15: The Red Sea
After breakfast, relax on board ship before transferring back to our Red Sea resort by coach. As before, the transfer will take around 5 hours. On arrival at the Red Sea, check in to your hotel and enjoy the rest of your holiday at leisure, enjoying the hotel facilities, or the many diving and snorkelling opportunities. On the day of departure you will transfer to the airport for your return flight to the UK.
Includes 10 Free excursions
- Luxor Temple
- Karnak Temple complex
- The Colossi of Memnon
- The Valley of the Kings
- Queen Hatshepsut's Temple
- Medinet Habu
- Temple of Sobek at Kom Ombre
- The Temples of Philae
- Aswan High Dam
- The unfinished obelisk in Aswan
Please Note
*Optional excursions are payable locally.
The itinerary may be subject to change due to local operational or weather conditions.
The itinerary shown is based on flying to Hurghada on a Friday. The cruise part of the itinerary always starts on a Monday, so the number of nights spent at the Red Sea before and after the cruise will vary for flights on other days of the week. For instance, fly to Marsa Alam on Wednesday, and you will spend 5 nights by the Red Sea, transfer the next day to Luxor for your cruise, then return to the Red Sea for the final 2 nights.